Yum

Quest 83: GF Flat Bread

Bread is something we need to make more of. It is the thing that goes with everything and is always best fresh from the oven. It can take a bit of time to make and homemade doesn't have a very long shelf life. So today, we shall make bread that is portable enough for our hero to take with him on his quest, but tasty enough it won't leave the Inn - flat bread. I have never made this had it last more than a day, but I think you can keep it wrapped up in the freezer to heat up another day. Enjoy!


Gear!
2 cups GF AP Flour Blend with xanthan gum
2 1/2 teaspoons baking powder
1 teaspoon thyme, chopped
1 teaspoon rosemary, chopped
2 cloves roasted garlic, chopped
1 teaspoon course salt
1 tablespoon garlic olive oil
3 eggs
¼ cup warm milk
½ to ¾ cup warm water


Quest!

Preheat the oven to 425 degrees F. Mix together flour, baking powder, rosemary, thyme, and salt together in a bowl.

Make a well in the middle of the bowl by pushing the flour to the sides. crack eggs into the middle. Add olive oil and garlic to the eggs.
Mix together pulling flour from the sides as you mix. until it is almost combined. Add warm water and milk. Continue to stir until completely combined. Let the mixture sit together for about 5-10 minutes.
Mixture should be pretty sticky, but more of a mass than before. If more on the thicker side, add a little more water, stir and let sit again.


On a cookie sheet lined with a silicone mat, spoon the dough into small sections and spread out with the back of the spoon. Top with a little more course salt and olive oil and bake for 15-18 minutes or until golden brown. Note: Your flat bread will take less time to cook if you spread it into larger and thinner pieces. This may require you to utilize more than one cookie sheet.
Enjoy warm! If you enjoy this flat bread like we do, it won't last long.


Follow the ZeldaGourmet to bring 
LOZ into your home everyday! Enjoy!


Quest 82: Zelda's Tea - Picnic Pie


I have always wanted to make a free standing pie. One so lovely and dense that once baked would stand up on its own without getting super gooey. Well today, we kind of did that. While this pie won't stand up by itself in the oven, it will once baked. This is similar to a British pie and I thought it appropriate to kick off our new page on Zelda's Tea Party. I will be adding cute little cakes and tea sandwiches to this page and I hope you like the idea. I find it an interesting thought to what Zelda is eating when she is not waiting to get saved. I hope you like the recipe and Enjoy!

Gear!
Spring form pan

Crust
1 1/2 sticks butter, cubed and chilled
4 tablespoons lard, cubed and chilled
2 cups GF AP flour, plus extra for rolling dough
1 teaspoon salt
1/4 cup cold water

Filling
3 T GF breadcrumbs
8 oz ricotta cheese
12 basil leaves
4 chicken sausage links, cooked and chopped
2 roasted red bell peppers
15 oz can quartered artichokes, drained and chopped
3-4 oz goat cheese with herbs
6 oz. prosciutto
1/3 c. finely shredded Parmesan cheese


Quest!

Let's make pie crust! In a large bowl, add the salt, flour, lard and butter. Using a pastry blender or a couple of forks, crumb together until crumbs the size of peas form. Add about half of the water and mix together. Add a little of the time of the remaining water just until the dough begins to form. Let the dough sit for about minutes. Check the dough to see if it needs a little more water. Then divide the dough into two discs and let the dough rest in the fridge for about 30 minutes.
Roll one of the disc of dough on a lightly floured silicone mat. Spray the inside of a spring form pan with cooking spray. Shape pie crust to the inside of the spring form pan. Bake pie at 400 degrees F for 8-10 minutes.
Add a couple of tablespoons of GF bread crumbs to the bottom. This will help to catch any leftover moisture from the filling and prevent a soggy bottomed pie.
Add a layer of ricotta cheese to the crust.
Place basil leaves on the next level.
Top with chopped sausage.
Add olives, onions, garlic and mushrooms.
Layer on roasted red peppers in a single layer.
Top with drained and chopped artichoke hearts and goat cheese.
Top with prosciutto and Parmesan cheese. Press layer down with each other to fill any air holes.
Place top pie crust on top. Crimp edges and create holes in the center for steam to escape, note the triforce shape.
Bake the pie at 400 degrees F for 45-50 minutes or until pie is golden brown.
Let pie cool for 15-20 minutes. Remove the outside of the spring form pan. Cut into pie to reveal the lovely layers we have created.
Plate and enjoy hot or cold. This pie is after all designed for a picnic and is especially yummy the next day.


Follow the ZeldaGourmet to bring 
LOZ into your home everyday! Enjoy!

Quest 81: Eenie and Meenie's Brussels Sprouts with Bullbo Strips

Today, Eenie & Meenie want to remind us to eat our vegetables. They never said we had to eat them steamed and lightly salted - so today, we are going to jazz up Brussels Sprouts with some bacon! Now I understand that Brussels Sprouts have a bad rap from what we have done to vegetables over time - you know about all the creaming they have taken! But I assure you that will a little care, these little cabbages will be on your menu too. Enjoy!

Gear!
1-2 lbs Brussels Sprouts
1/2 lb. Bacon, uncooked
Salt & Pepper
Mandolin with guard
Non stick pan

Quest!


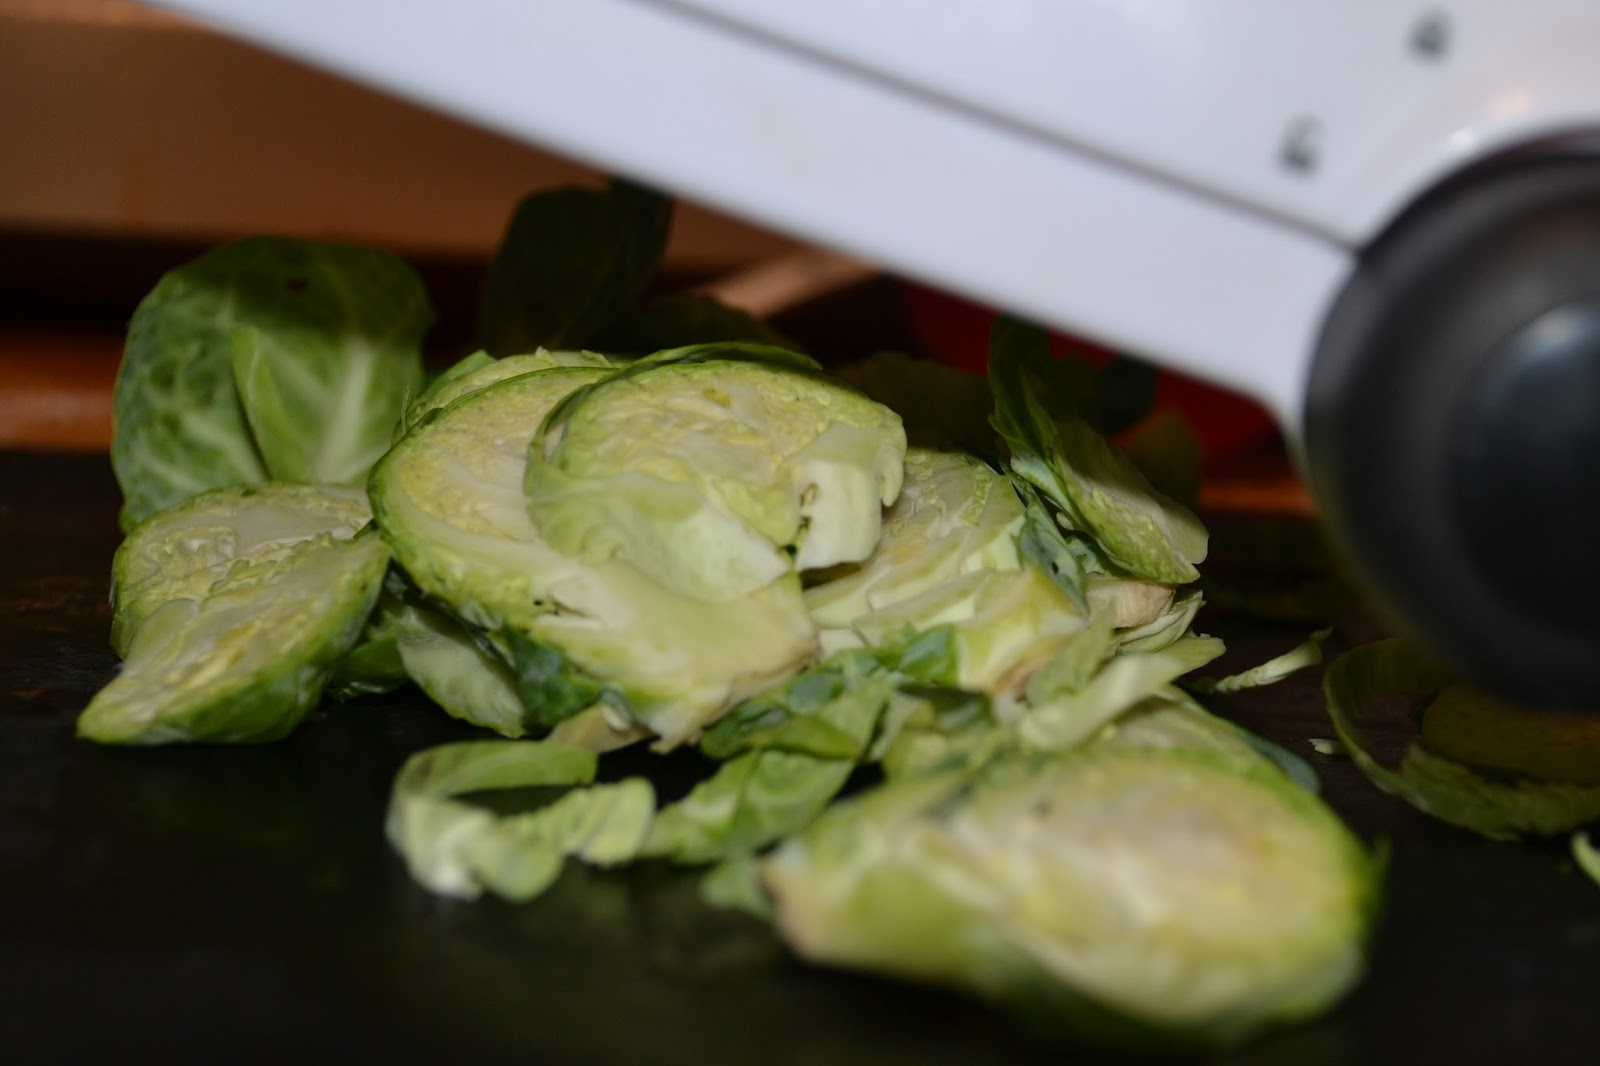
Very carefully, slice on the second thinnest setting on your mandolin. Make sure to use the hand guard!
That's nice! Once all of the sprouts are done, set aside.
Cut bacon into small bite-sized pieces. Add to a non stick pan and place on low to render out some of the fat.
Once the bacon is cooked about half-way through, add the sprouts. Add a little salt and pepper.
Continue cooking until bacon is fully cooked. Adjust seasoning as needed.
There you have it! This is a great dish because you get all the smoky flavor from the bacon into the sprouts. The sprouts get a little char to them without getting burnt. The only thing that would make this better is if we added potatoes - which is really good too. BTW, if you want to do that, add the potatoes with the bacon at the beginning. Add the sprouts in the same place in cooking to the bacon. Enjoy!


Follow the ZeldaGourmet to bring 
LOZ into your home everyday! Enjoy!


Quest 80: Din's Fire Pepper Jelly

Ocarina of Time is a great game - one of my top 5 Zelda games. In trying to do something a little different, I want to share with you something that I have been making for quite sometime - pepper jelly. This particular pepper jelly is both sweet and spicy and works very well as an appetizer on a bed of cream cheese or in the morning on toast for a savory pick me up. The color of this jelly is bright and beautiful, and it reminds me of Din's Fire from Ocarina of Time. I hope you enjoy this recipe - I know my family sure does. Enjoy!

Gear!
8 8oz canning jars
8 matching canning lids
8 canning rings
2 large red bell peppers
1 large green bell pepper
2 habanero peppers
2 cups cider vinegar
1 pkg. powdered pectin
6 cups sugar

Quest!

Let's refresh our memories about canning from Quest 3: Red Chu Jelly

The purpose of canning is so that your food will last for a long, long time. It cannot do that if there are microbial organisms living with it. So what do we do? We kill ‘em all! . . . Well, as many as possible. Throughout the canning process, it is important to have a pot of almost boiling water on hand to put things like spoons and ladles in so they stay sterile as we go.

You will need to acquire (through legal means) a set of 8 oz. jam jars with metal rings and lids. Please do not try to reuse the Grey Poupon jar or any other crazy jar you have in your house, you are looking for a headache. Canning jars are made for what we are putting them through and I cannot and will not guarantee any sort of success with crappy jars. When they are empty, reuse your jam jars and the rings again and again. So don’t worry, they pay for themselves in a couple of uses. Note: You can only use the lids once. It’s okay – I don’t want my next batch of blueberry syrup to taste like beets anyways. Lids are relatively cheap.

Besides the jar assemblies, you will also find handy a jar funnel, head space measuring tool & jar tongs. These come in a kit at places like Target & Fleet Farm. Some kits even come with a handy magnet to help you take the lids out of the boiling water later. Other items you will need are a ladle, a couple of tea towels, paper towels, either labels with your product information or a sharpie pen.


There are two methods for sterilizing your jars that I would recommend. One is to boil them in a huge pot of water on the stove top for at least 5 minutes. I add sanitizing powder too. The nice this about this method is that you already have your pot for sterilizing everything else. 

But this does take up a lot of space. So the alternative method is the dishwasher. Place your jars on the top rack and instead of using your normal gel or tablet, use a sterilizing powder like OneStep. I steal out of my husband’s stash – he uses it in the wine making process.


Now, let us proceed . . .

In a food processor, add roughly chopped up red, green and habanero peppers with the seeds removed.
 Add the pureed mixture to a heavy bottomed 6 quart pot. Add cider vinegar and pectin and bring to a boil. Cook for another minute.
 Add sugar to the mixture and stir until dissolved. Set a timer for 6 minutes and boil until the timer runs out. 

Place lids in a small pot and bring to a boil. This softens the wax on the lids.


The jelly is ready. You should have 8 prepped, sanitized 8 oz. jelly jars for this recipe. Run your finger along the top of the jar before you start to make sure the edge of the jar is smooth. If it is rough, you may get leaks and is a sign that your jar is broken. Be sure to check even if they are brand new jars before you use them.
Ladle the jelly into the jars using the funnel. Measure to see that you have ½ inch of head space  The correct amount of head space is important because it allows the jar to seal properly. Wipe the rim of the jar with a clean, damp cloth. I dip mine in the water from sanitizing the jars.


With the magnet, fish out the lids and place them on the jars. Add the metal rings to the jars. Tighten just so they are hand tight. Do not wrench on the jars, we want to prevent leaks, but allow the air to escape the jar when the lid seals.

Now for sealing . . .

You have two options for sealing. One options is to place in a water bath (a large pot of boiling water) for  5-10 minutes. Or you can utilize what I like to call the jam method . . .Once the rings are on, flip lid side down and let sit on the counter like this for 5 minutes.
Note: The jars are still hot.


Turn back right side up and leave them alone. Just walk away!!
You will hear them make a “puck” sound after awhile, meaning they have sealed.

When they have cooled, label and enjoy! If you have any jars that do not “puck” you will have to refrigerate and consume sooner than later.


Follow the ZeldaGourmet to bring 
LOZ into your home everyday! Enjoy!


Quest 79: Venison in a Hylian Shroom Wine Sauce


Gear
1-2 pounds of venison meat
salt and pepper
8-10 dried morel mushrooms
1/2 to 3/4 cup boiling water
2 T butter, divided
2 T. parsley, fresh and chopped
1/2 cup red wine - I used merlot
salt and pepper


1 recipe of Hylian Shroom Polenta

Quest

Prep your venison. Mine was frozen, so I had to thaw mine in the fridge first. season with salt and pepper and set aside.

In a measuring cup, add your dried morel mushrooms and enough boiling water to just cover the mushrooms. Set aside - you may have to add a little more water if it soaks it all up.
Once the mushrooms are reconstituted, cook down any leftover liquid from the measuring cup in our non stick pan until reduced by half. Put this liquid back into the measure cup - minus the mushrooms, but add the wine for easy pouring.
To this pan melt 1 T. of butter.
Cook mushrooms until they start to take on a little color - then add a pinch of salt. Take all those buttery mushrooms and set them aside in a bowl.

Sear your venison in the same pan - don't wipe it out! You want all that mushroom goodness in the meat! Flip the meat and immediately add the wine and mushroom broth from before to the pan. (Turn the stove off first). Then bring to a simmer.
Add the mushrooms back into the pan with the venison. Add 1 T. butter to help create a sauce and some fresh parsley for some freshness.
Dish over Hylian Shroom Polenta and you will be close to mushroom overload - what a way to go!


Follow the ZeldaGourmet to bring 
LOZ into your home everyday! Enjoy!

Created By Sora Templates