Quest 9: Rock Brisket

I am going to give you two ways to make this creation based on your ability to baby-sit the grill all day. Both are delicious are worth the wait.
Gear . . .
Brisket (Mine is about 24 oz. but use what you can find. Bigger will take longer to cook).
Grill
Natural Chunk Charcoal - not briquettes
Chimney Starter
Lighter or Matches
Heavy Duty Aluminum Foil
Your favorite Wood Chunks (I chose Cherry)
A bowl to soak wood chunks
Long Handled Tongs
Grill Gloves
CrockPot (Optional) . . we'll discuss this later.
For the Rub
1 t. Ground Cinnamon
1 t. Chili Powder
1 t. Course Salt
1 t. Pepper
1 Garlic Clove
1 t. dried parsley
Mortar and Pestle
For the Sauce
1/2 cup Jameson (or your favorite whiskey)
1/4 cup Water
1 Whole Star Anise
2 T Brown Sugar
1/4 cup Ketchup
1 T. Dijion Mustard
1 t. GF Worcestershire Sauce
Small Sauce Pan
Whisk
Quest!
The important thing to remember with brisket is that it has a lot of fat and connective tissue because it is on apart of the animal that is responsible for major movement (part of the front shoulder). That's not a bad thing, it just means we have to use the "low and slow" method of cooking. By using this method, the fat is allowed to render and the connective tissues release all the collagen, leaving a nice tender piece of meat.
 |
| Sorry Vegetarians. But I think it's important for people to understand where the different cuts come from. http://en.wikipedia.org/wiki/Cut_of_beef |
 |
| Let's begin the recipe by selecting your favorite smoking wood. I like Cherry, but just make sure you use chunks, not chips or pellets. You will need about 4 cups of chunks depending upon how long it takes to burn. |
 |
| Soak the chunks in a bowl of water for at least 2 hours, more would be better. This will give the wood time to soak up quite a bit of water. |
 |
| Place a couple of good handfuls of wood on a piece of heavy duty Aluminum Foil. Depending upon the shape of your grill, make a packet that fits that shape. Poke holes in the top of your packet and set a side. |
 |
| Let's make the rub! Start with a mortar and pestle. I know, it's a little old school, but you can control the size of the grind better and it's fun. |
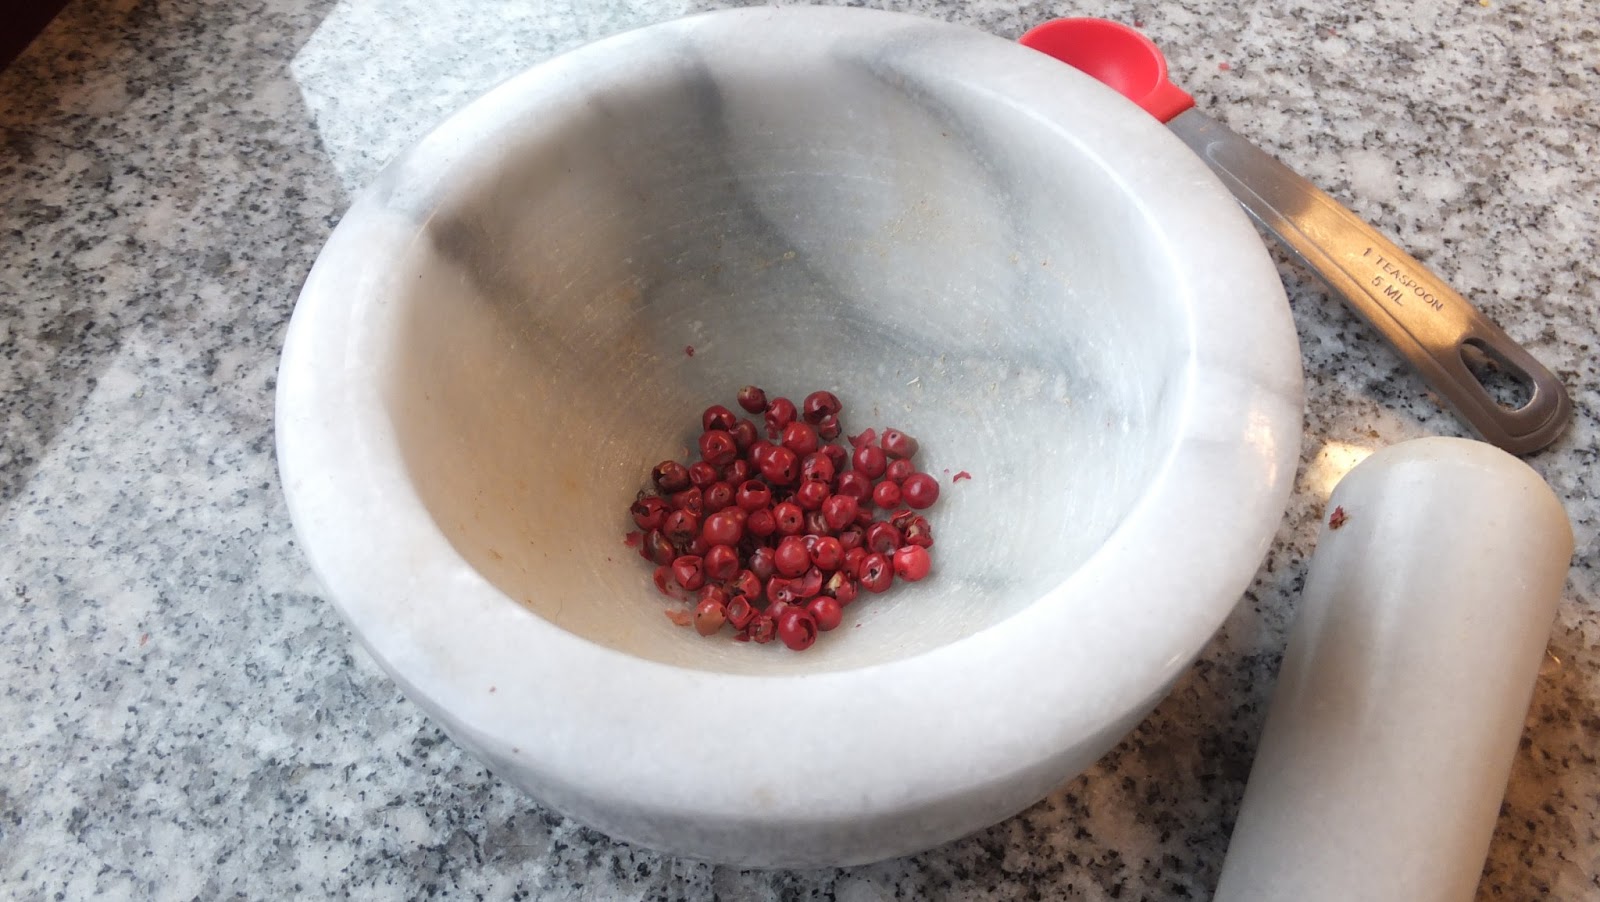 |
| Add the peppercorns and grind them down first.Then add the other ingredients except for the garlic clove. |
 |
| Once you have ground everything else together, add the garlic clove. |
 |
| This will bring everything together and form a light paste consistency. |
 |
| See!!! |
 |
| Ahh, Brisket. How do I love thee. Let me count the ways. . . I mean, You should always buy good quality beef. Local is always good. My parents actually raise beef, but at this juncture in time, alas, do not have any brisket. So, I was able to source this rather nice specimen from the local food co-op. |
 |
| You may notice on this particular cut two things: Fat on the outside - this is normal and encouraged for both flavor and maintaining juices. The other thing is that the left side is thicker than the right. We will correct this by butterfly cutting that piece open before applying the rub. |
 |
| There is one section of really thick tallow fat on this piece. I am going to trim that off. I am leaving the rest of it alone though. |
 |
| Pat the meat dry with a paper towel. Make sure you get all sides and the cutting board. This will help the rub stay on better. |
 |
| Rub, rub-a-dub, all the rub on the brisket on all sides. Use it all. |
 |
| Ta-da!!! Notice how nice it looks now that we butterflied it open to make it all the same thickness. This will help it cook more evenly. |
 |
| Get the Charcoal going! I am using natural lump charcoal. I think it starts easier. Yes, it may burn quicker, but you have to watch this anyways. |
 |
| Hot!!!! |
 |
| Oooooooooooooooh. What a pretty fire. |
 |
| Get the grill assembled. Today I am trying out my husband's new camp stove. It is a cast iron unit and it is awesome. It has a fire door for adding more charcoal, so I don't have to take it apart while cooking and it has a draft slider on the bottom so I can control the burn. |
 |
| Once you have the charcoal in the grill. Place your wood chips on top. |
 |
| Finish assembling and let it get hot. |
 |
| My favorite part (besides eating it) is placing the meat on the grill. The chips should have started to smoke a little before you do this. |
 |
| Using some heavy duty aluminum foil, make a tent to encompass the smoke around your grill. I had to splice two pieces together to make this work. Now, if you are using a regular grill, you can just place the cover on. You will have to play with the vent on your grill to control the smoke. You will want a little coming out to keep the burning going. I have a draft door so I don't have to worry about that. |
 |
| This is what mine looked like after about two hours |
 |
| Option B utilizes a Crockpot or slow cooker as some know it as. Set it to LOW and add 1/2 cup of Jameson Whiskey, 3/4 water and a star anise. Add the meat and cover. I left this in here for about 4 hours. From time to time, I did check on it and added a bit more Jameson when it was getting low. Note: Some of the liquid in the pot may look like the liquid you added, but it is really fat that has rendered. You can leave it in there to add flavor, just keep in mind that you still have to add liquid. It will burn if you leave it in just the fat to cook. |
 |
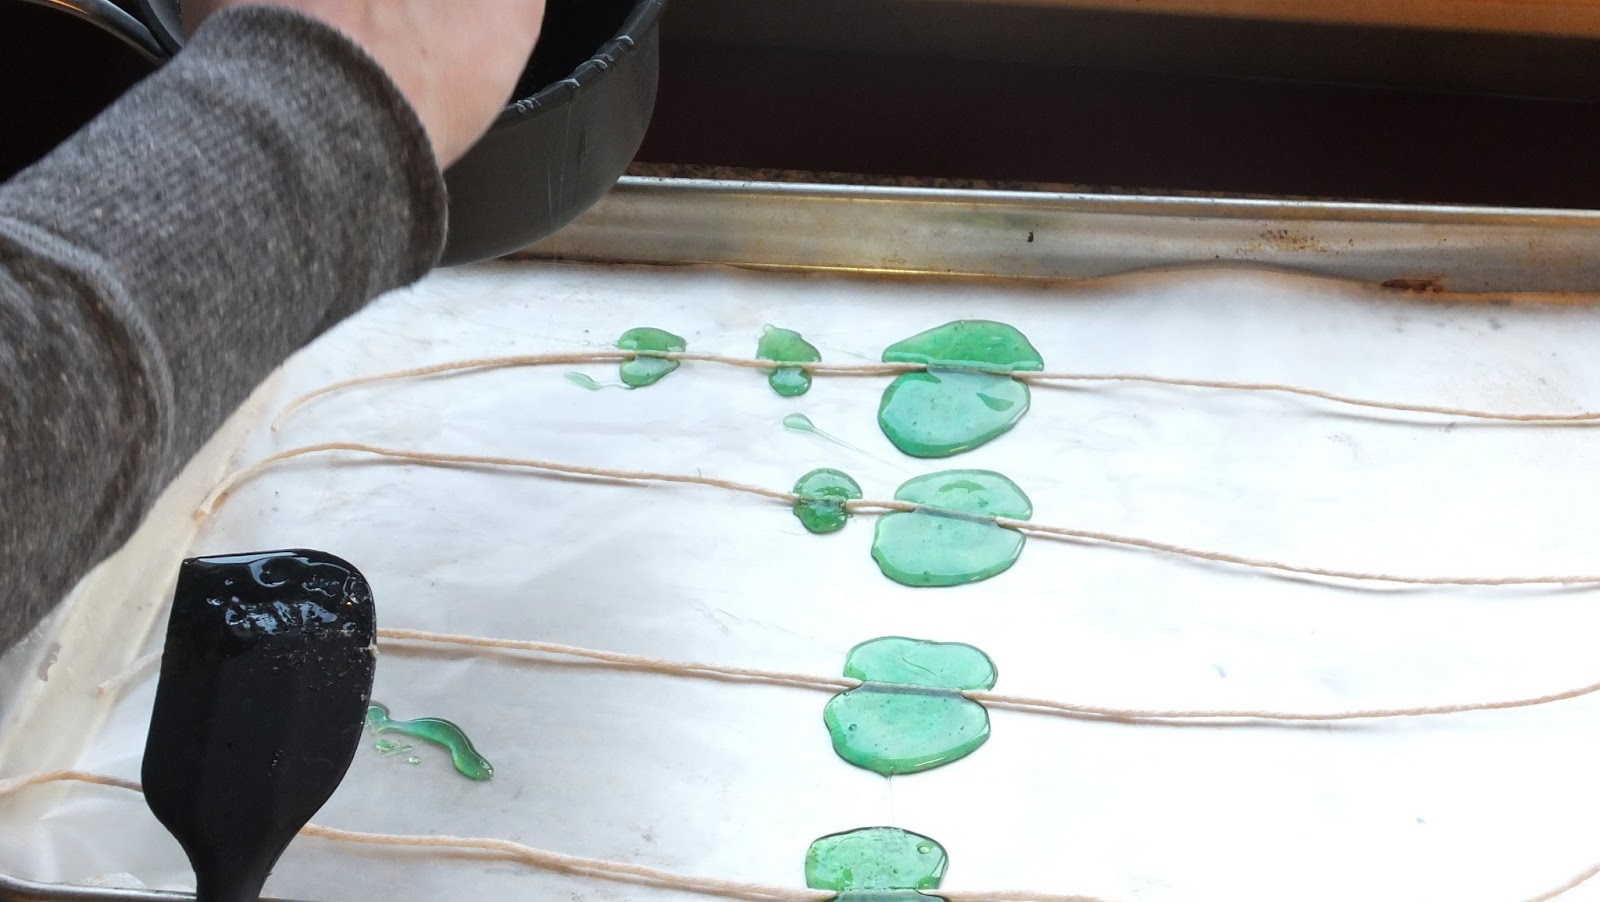
| Let's make the sauce! This sauce is super easy! Just add everything to a sauce pan, whisk and cook together until it as saucy as you like. |
 |
| Now that is a piece of meat. No, it's not burnt. By adding the Jameson, I was still able to add a level of carmelization, though not to the extent that would have been on the grill. |
|
| Cutting is just as important as cooking. Find which way the grain is going. Cut the brisket into chunks and cut against the grain. |
 |
| The short fibers will be tender and delicious. |
 |
| This is a meal fit for a Goron. I hope you liked this recipe. |
Enjoy!
Leave a comment if you have an idea or if you like this post!!