Yum
Showing posts with label pudding. Show all posts

Quest 91: Zora Eggs

Zoras have not been mentioned in our questing as of yet. Well today, we have prepared for you a lovely batch of Zora eggs. This rich and creamy dish is the prefect end to any meal. Enjoy!

Gear!
1 cup small tapioca pearls - not quick cooking
1 can of coconut milk
2 T. honey
1 tsp. vanilla paste
1 tsp. cinnamon
1 egg, separated

Quest!

Add tapioca pearls to a sauce pan.

Add coconut milk and bring up to a simmer.
Add honey, vanilla and cinnamon.
Cook until tapioca is plumped and start to look like fish eggs. Turn heat off and let cool slightly.
Separate your egg into two different bowls.
Beat egg whites until they come to a stiff peak. You can do this by hand or with a mixer.
Added egg yoke to the mixture and stir.

Until creamy and egg is cooked.Fold in egg whites to lighted up mixture.

Serve warm or cold with a dolup on whipped cream on top.


Follow the ZeldaGourmet to bring 
LOZ into your home everyday! Enjoy!

Quest 60: A Slice of Pie

Pi Day is here again and what better way to celebrate than by sharing a favorite and easy pie recipe with all of you. Conveniently, there is a bakery called the Bakery of Wheaton and Pita in Minish Cap where you can purchase a slice of pie for 40 rupees. Well, this pie won't set you back that much and it's also a no-bake pie! Happy Pi Day, Everyone. Enjoy!

Gear!
Prepared Gluten Free Crumb Crust (We used chocolate snap)
6 oz. Cream Cheese, Softened
1/2 cup Whipping Cream
1 - 3.4 oz.Instant Pudding (We used Chocolate Fudge)
2 cups 2% Milk
8 oz. Cool Whip
1 T. Hot Fudge Sauce
Chocolate Shavings (White and Dark)

Quest!
Prepare you crumb crust or simply unwrap if it is already done for you.


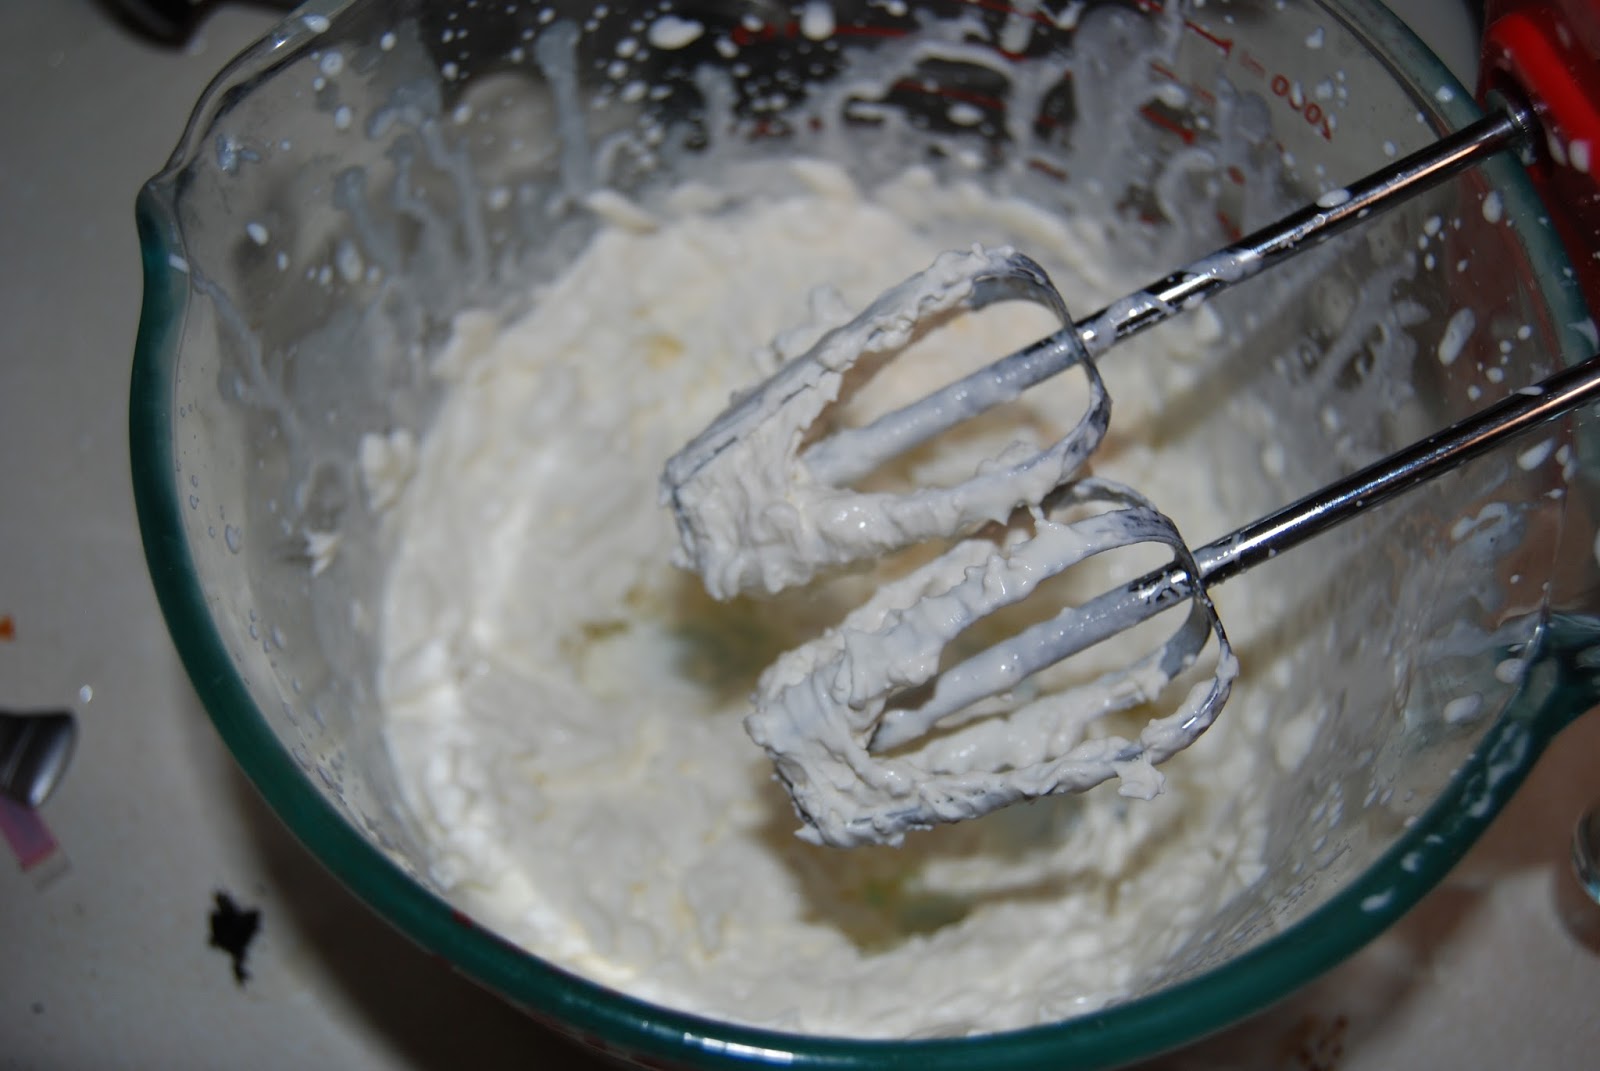
Using a hand mixer, cream together cream cheese and whipping cream until smooth.


Add milk and box of pudding and continue to mix until thickened and smooth - about 2-3 minutes.


Spoon mixture into prepared crust and refrigerate for 30 minutes.


Spoon Cool Whip on top of pie and smooth out.


Heat hot fudge sauce in the microwave using directions and drizzle over the top of pie in a decorative pattern.


Add chocolate shaving on top. Refrigerate pie for 30 minutes. Serve and Enjoy!


Please comment, follow or just spread the word about The Zelda Gourmet! Enjoy!

Quest 54: Magic Powder - Chia Seeds!


Magic Powder has many uses in the Legend of Zelda, so today we are working with one of our own magic powders - chia seeds! These versatile little superfood is not only delicious, but may even help stay on track with New Year's Resolutions. Give this first entry of chia seeds a try and bring a little magic to your day! Enjoy!

Gear!
2 T. Chia Seeds - we used white
3.5 oz coconut milk - canned
14 oz can of diced mangoes IN JUICE!
1 T. vanilla paste


The Quest!
Add chia seeds to a 2 cup plastic container with a lid. Add vanilla paste.


Strain 1/4 cup of juice from the mangoes and add it to the chia seeds. Add coconut milk into and stir. There will likely be large chunks from the coconut milk - just keep stirring.


When it is well combined, add the lid. Give it a good shake and store in the fridge, You should be good to go in about a half hour, but I like to make it the before and eat it in the morning.


When ready to eat, add to a fancy glass and top with some of the mangoes from before and Enjoy!


Be sure to follow on social media to stay up-to-date with all the latest from the Zelda Gourmet!

Quest 38: A Trip to the Beach on Koholint Island

Today, we make our journey to the Koholint Island for a little time on the beach. I was thinking about worms in the dirt the other day and since I have not made it since going GF, I figured the sky was the limit and I could make it any way I wanted. So that is just what we are doing. Using more neutral tones and not so much on the dark Oreos and chocolate pudding that we are used to, we shall depict the scene in which Link will find his sword. This recipe is so easy and your kids will love it too.  Enjoy!


Gear! Get the printable recipe here!
3.9 oz Vanilla Pudding mix
3.9 oz Butterscotch Pudding mix
4 cups of cold milk, divided
8oz. Cool-whip, divided
Blue Food Coloring - Gel type
Variety of GF Cookies: Wafer cookies, sugar cookies, Anne's Bunnies, etc.
1/2 cup of Walnuts - optional
4 oz. Cream Cheese
1 cup GF Chocolate Cookies, crumbed - I used Annie's Bunnies
Candy Pearls
Small Mint leaves

The Quest!
Let's set the scene! First, make your puddings in separate bowls according to the directions - with the milk :)


Add 1/2 the Cool-Whip to each of the puddings, folding gently. This will tone down the colors and add volume.


Divide the Vanilla pudding into two parts. Add blue food coloring to one of the bowls. Set puddings aside.


In a 8 or 9 inch square baking dish, put a layer of crushed cookies - I used sugar cookies.


Add a layer of butterscotch pudding over the first layer of cookies. Add the walnuts over the butterscotch pudding. If you have a nut allergy or if nuts just are not your thing, you can put another layer of cookies here.


Being careful, add the blue pudding to the bottom of the half of the square. Then add the remainder of the vanilla pudding. spread it out to make a 50/50 shoreline.


Add dollops of butterscotch pudding to the yellow part of the shore.


Using a toothpick, swirl the beach to make a two-toned effect. Just be sure to stay out of the ocean!


Add some wafer cookies to build dimension over the world. Fill in these areas with butterscotch pudding. Note: I did end up with extra butterscotch pudding - it was delicious!


Take a light colored wafer cookie, separate a layer and cut it down so it looks like a broken board. Add some left over Cool-Whip to make waves in the water.


Let's finish it off with cookie balls!
Cookie balls are super easy - cookie crumbs and cream cheese - That's it.

In order to keep the mess down, we mash my cookies in a zippy bag with a rolling pin and add the softened cream cheese to the bag. Work it together in the bag. we used both a small scoop and a medium scoop for this project. The small makes the sand dune. The large makes the sea urchin.


For the sea urchin, we made a ball and rolled it in candy pearls. Added a little leftover cream cheese for the eyes. For the sand dune, we added a couple of dried mint leaves - it was all I had, but you could definitely use fresh.


And for the final step, we added the sword that Link will come find - we know it's his because it has his hand on it! Ewww!

Well, that's all for now! Please follow on the social media to stay up to date with all the newest posts! Enjoy!


Created By Sora Templates