Yum
Showing posts with label craft. Show all posts

Side Quest: Craft Night - Majora's Mask


I haven't posted a craft project in a while and I wanted to share with you one that I just finished up. So today, I share with you my newest walk decoration of Majora's Mask. This took a weekend to complete because of the drying time, but is generally pretty simple to make.


Gear!

  • Corrugated Cardboard
  • Paper Towels
  • Decoupage Glue - Gloss
  • Markers
  • Acrylic Paints


Quest:
Start by cutting your cardboard into a large heart shaped piece. Draw lines to determine where the base of the eyes will be and to divide the mask into four quadrants.

 Cut out eye and mouth shapes to give the mask dimension. Also cut ten spike shapes for around the bottom and horns of the mask. Attach the eye and mouth shapes with glue on the top. Glue the spikes from the bottom side.


Cut paper towels into small pieces. Pour about a 1/4 cup of the Decoupage glue onto a paper plate. Dip the paper towel pieces into the glue and place, slightly overlapping each other onto the mask.

The first layer once dried does not look great. That is why I added a second layer. It also helps to develop the dimension of the layers that were added with the cardboard.

This is what the mask looks like with two layers and completely dry. The contouring comes out much better. From here, it's is about painting with the acrylic paints. Outlining the eyes and other detailing with markers. Add two more layers of Decoupage glue over the top to seal the whole thing.




Ta-da! I hope you enjoyed this craft and make one for your own Zelda den!


Side Quest: Craft Night! Owl Quilt

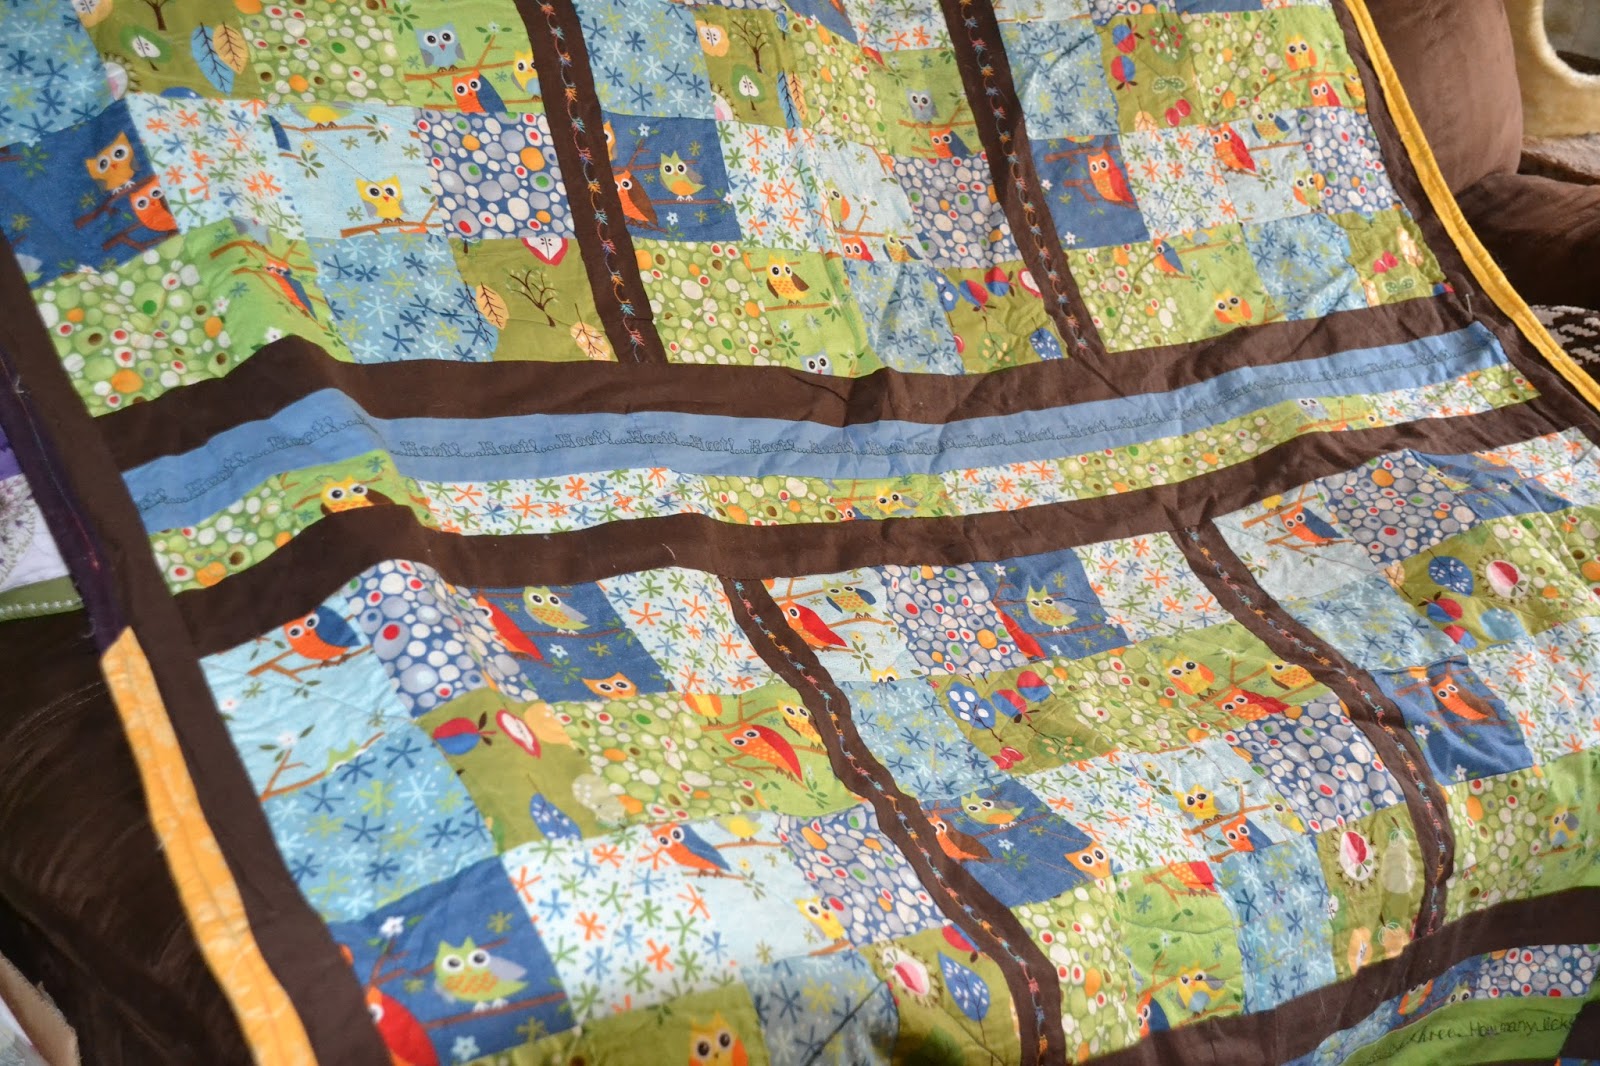
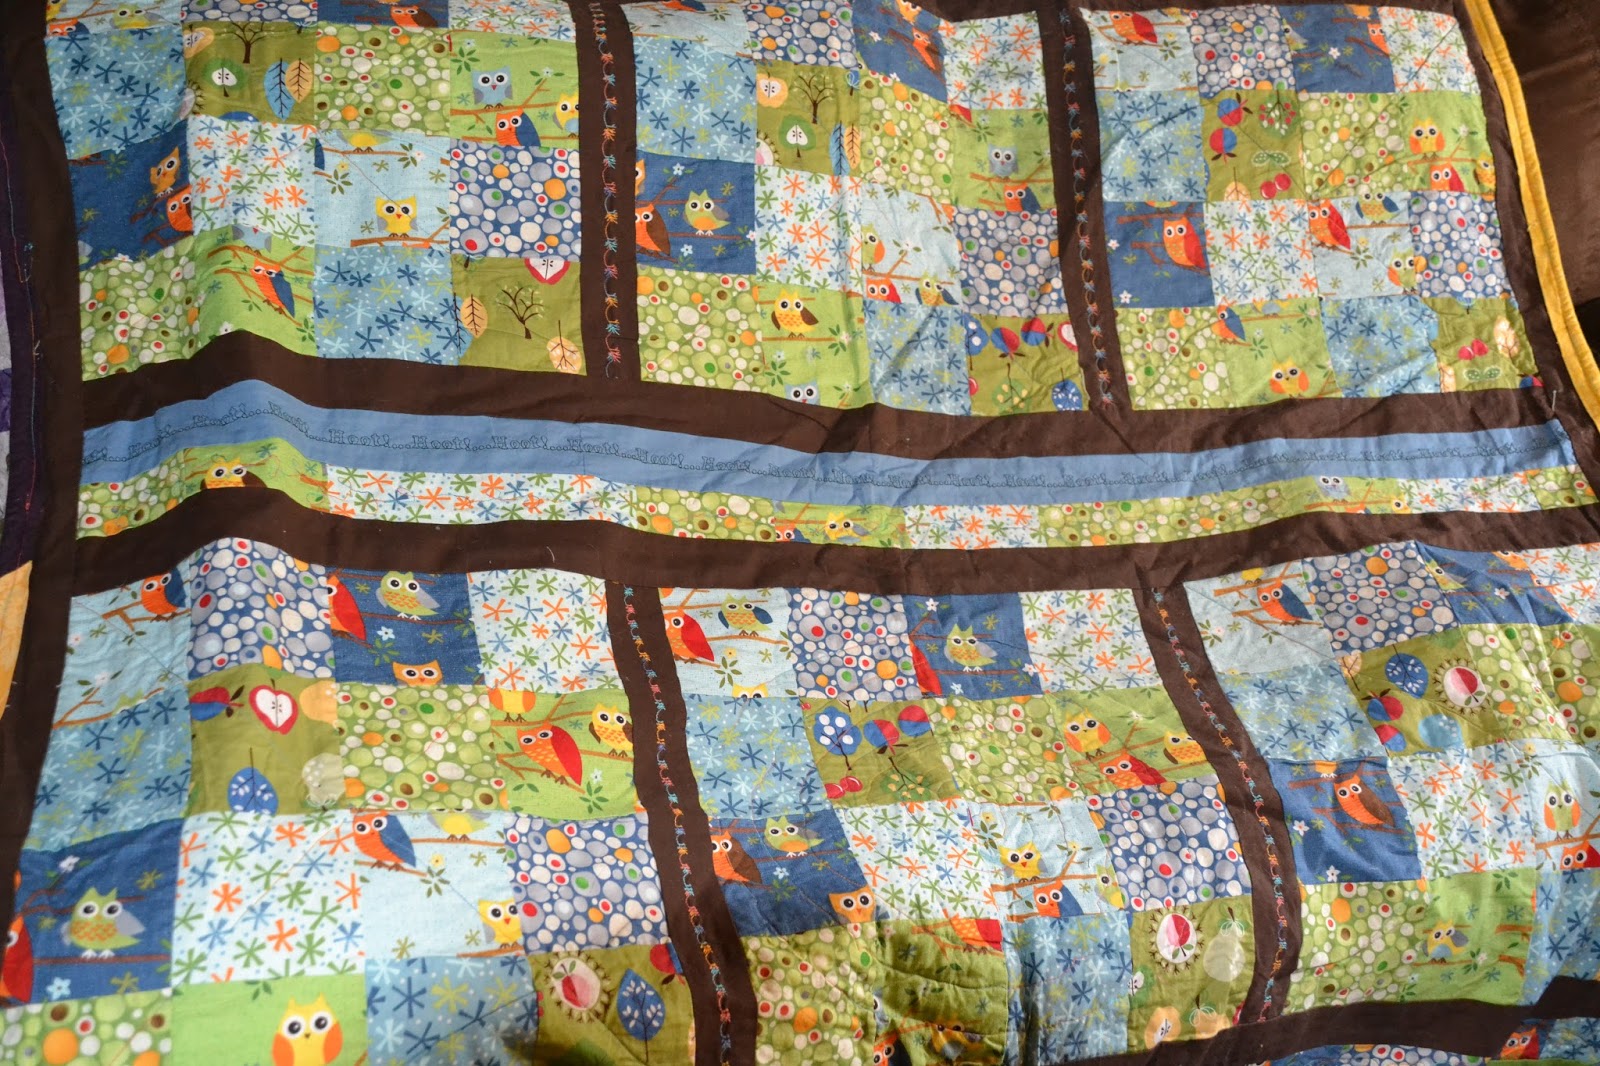
Kaepora Gaebora is a crazy owl that has a whole lot of say. Between Ocarina of Time and Majora's Mask, he is mostly not helpful, but at least has his heart in the right place in trying to give advice. In honor of this character, I have created an owl quilt that is just as crazy as he is. This quilt was made in square sections of 4 inch squares and then put together with 2 1/2 inch strips. Before putting together the layers of the quilt, I did some embroidery on the strips to add some extra embellishment. Quilting is a great hobby, and if you can sew with a 1/4 inch seam line in a straight line, you too can make a quilt! Enjoy!


Side Quest: Craft Night! Decoupage Canvas Art

While flipping through some old Nintendo Power magazines I got a neat idea. Cut out the pictures that I really like and show them off in my house. Now this is the first one I did and I am sure that there will be others of various sizes in the future. This is a great idea for kids to show off the things that they like to hang in their room. It's easy enough for just about anyone to do it! Enjoy!


Gear!
Canvas - I used 8 x 8 inch
Colored Scrapbook paper
Magazine pictures - cut out
Mod Podge
Sponge brush
Scrapbook embellishments

The Quest!
Cut scrapbook paper into random pieces.

Brush canvas with a thin layer of mod podge.

Lay paper pieces out the way you want them in one layer.

Apply a thin layer of mod podge over this layer and let dry.


Add additional layers if necessary and let dry between layers.


Add embellishments. For this one, I found some scrapbook keys and rhinestones.


Be sure to follow on social media. We love to hear your comments. Stay up-to-date and Enjoy!

Side Quest: Craft Night - Deku Scrub Flower Picture

I have a habit of not throwing flowers out until they are dried and the cats start playing with petals that have fallen to the floor. Though, not necessarily a good habit, it did give me an idea today for a quick and easy project. The colors I had to work with today where orange, white and purple. So I thought "Why not a Deku Scrub?"

The flowers I used where tulips, but any dried flower that retains its colors when dried should work just fine.


Gear:
Dried flower petals
Glue - Craft or white glue is fine
Drawing paper
Scissors
Cup


Quest: 
Start by choosing your flower petals. This will give you your pallet to work with. Next you will want to find your picture. I chose the Deku Scrub from Majora's Mask. An evil looking thing, but a character I have not given enough recognition to.

Next I drew a sketch of the basic outline onto a piece of drawing paper. It's thicker than regular printer paper and will hold the media a little better for you.


Then, I divided the petals into their different colors and placed them in a cup and cut them with a scissors until very small.


Just like using glitter, put the glue where you want the color to be. Drop that color over the whole thing. Wait a few minutes to let it dry and tap the excess off. Touch up with one color before starting another. For this, I did the purple first, then orange and finally white.

I think this turned out really cool and it didn't take much time at all to complete.


Thanks for checking out the Zelda Gourmet! Follow us on Twitter and Facebook to stay up to date with new posts!

Side Quest: Craft Night - Wall Decorations

This is a really fun craft that can add a lot of fun to a game room or a kid's bedroom. It's made by gluing together bunch of one inch wooden blocks together to make your favorite 8-bit characters. For this, we made Link and an Octorok.


Gear!
Lots of 1 inch wooden blocks  - we got ours here!
Wood Glue
Damp Cloth
Paint and Paint Brushes
Spray Polyurethane

Quest!
First we decided our designs. We did this by simply Googling Original Zelda in Images and selecting designs that were easy to divide into pixels.

Once you have divided your picture up, count the number of blocks you will need. We laid our blocks out and arranged them. The blocks had different colors and grains of the wood, so take your time to make it nice.

Glue the blocks together and wipe any excess glue off with a damp cloth. Let dry completely.

Paint Time! Paint your blocks the way you like. Tip: If you are doing Link, Zelda, or other Hylian character, leave their skin unpainted. You may have to paint other areas more than one coat.

When completely dry, spray with polyurethane - again, two or three coats are recommended.

Attach a picture hanger on the back and hang on the wall. Tada!

We hope you enjoyed this little side quest into the craft closet.


Follow us on Twitter to know when the latest and greatest posts come out!

Side Quest: Craft Night - Zelda Terrarium!


Tonight I became ambitious and decided to put together my terrarium. I gathered most of the loot from Michael's. I even found a jar that looks a little like a fairy jar to add some whimsy. I got the miniatures from GameStop. They come in little green eggs and you don't know what you are going to get. I carefully grabbed eggs of different weight and those who rattled differently. This is an effective measure because I got the adult Link and adult Zelda on my first try. I also got a darknut to add some drama to the scene. Enjoy! 

Gear:
A jar
Moss
Zelda Miniatures
Artificial flowers and leaves
Wire Clippers
Gorilla Glue
Piece of Cloth


Side Quest: 


I started with arranging moss along the edges, gluing as I went. Next, I glued the fern leaves in place. I then thought about how I wanted to arrange the miniatures. I ended up with all the miniatures except Tetra, so I decided to use the adult Link and Zelda and the on enemy, Darknut. I glued the figurines in place. Finally, I filled in the rest with other mosses, and added flowers and shrubs for depth. The miniatures come with extra pieces so I added a rupee and a crystal to grassy area. I placed a piece of cute fabric on the top to finish before closing the jar.


If you like the Zelda Gourmet, become an email follower or Google +1 so that you get the newest recipes when they come out. Also Like us on Facebook and Share this with your friends. 
Created By Sora Templates